As leading UK experts in steel fabrication, our workshop is always busy and filled with our dedicated fabricators and welders working through our specialist services.
In this article, we’ll take you through a week in our fabrication workshop when we’re busy working on a large-scale project. We’ll walk you through how we prepare for these weeks, as well as the full processes and methods at each stage to deliver a full-scale steel structure that is ready to serve its sector.
This week’s project: a steel footbridge
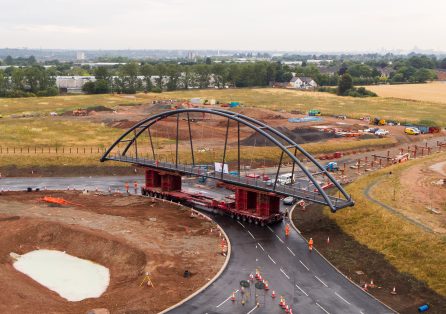
In the workshop during this focus week was a steel footbridge at a total length of just over 55 metres that will span the upcoming HS2 railway line. For a project of huge proportions and national significance, our works for this structure consumed the space in our facility, making it our primary job for the week.
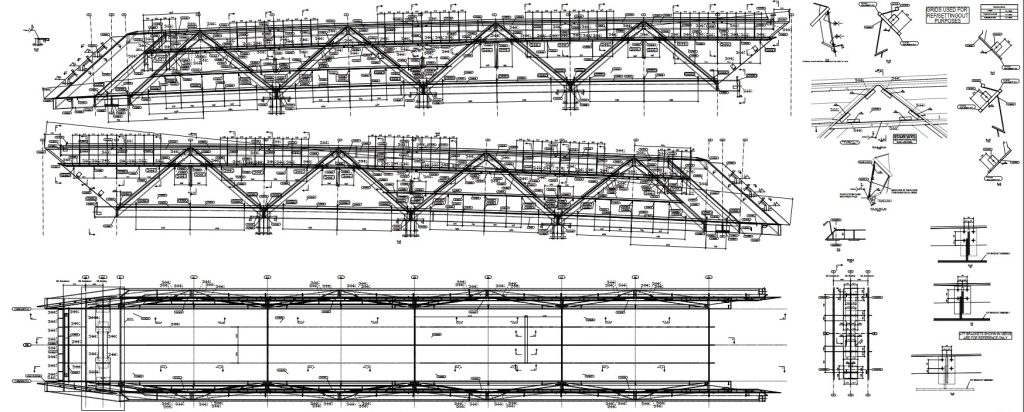
Our role in this project was to transform the raw materials into finished components (otherwise known as material processing), and fabricating these elements to create complete structures to form the bridge on-site.
Let’s see how we get on this week to form the footbridge in accordance with the client’s specifications and design drawings.
Days 1 & 2: Layout down and deck built
At the start of the week, the first job was to put down an accurate layout on the workshop floor. This layout is a representation of the fabrication works, giving us a constant datum to work and ensuring the project is done to complete accuracy.
In contrast to the modern surveying tools we have access to at Carver, we used a string line, straightedges, scribers, and tape measure. This traditional approach still has its place in our modern fabrication shop.
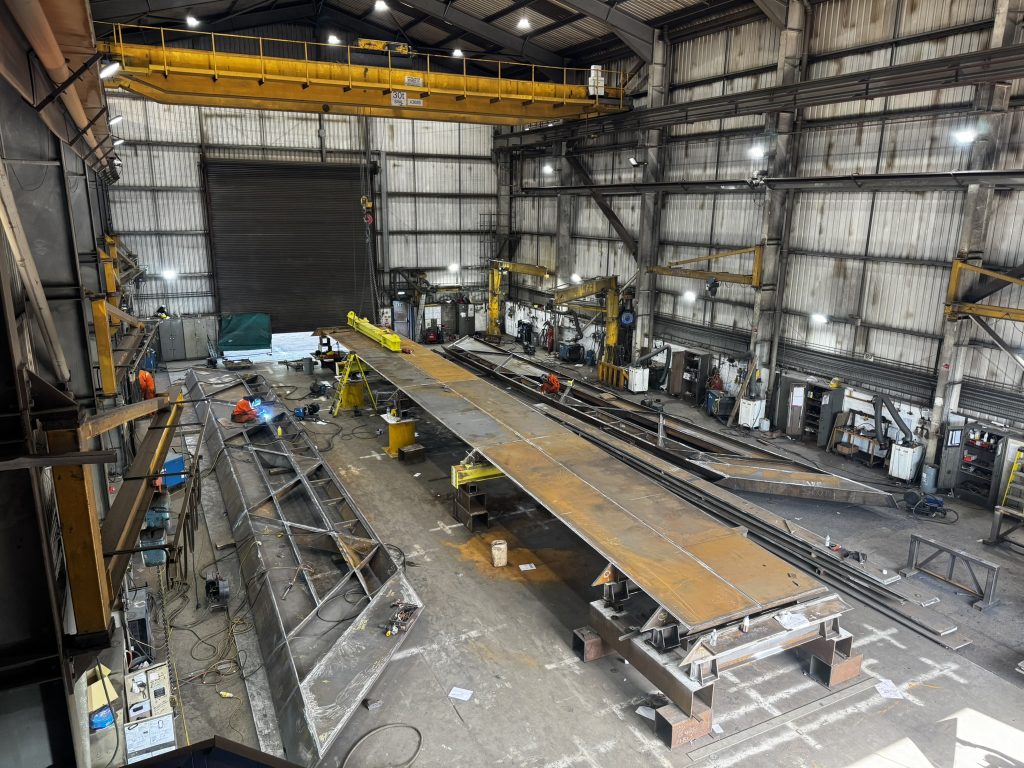
Once the layout was complete and checked, we started to build the bridge. First, we set the key heights along the bridge and began constructing the deck.
Days 2 & 3: Sides put into position and tacked up
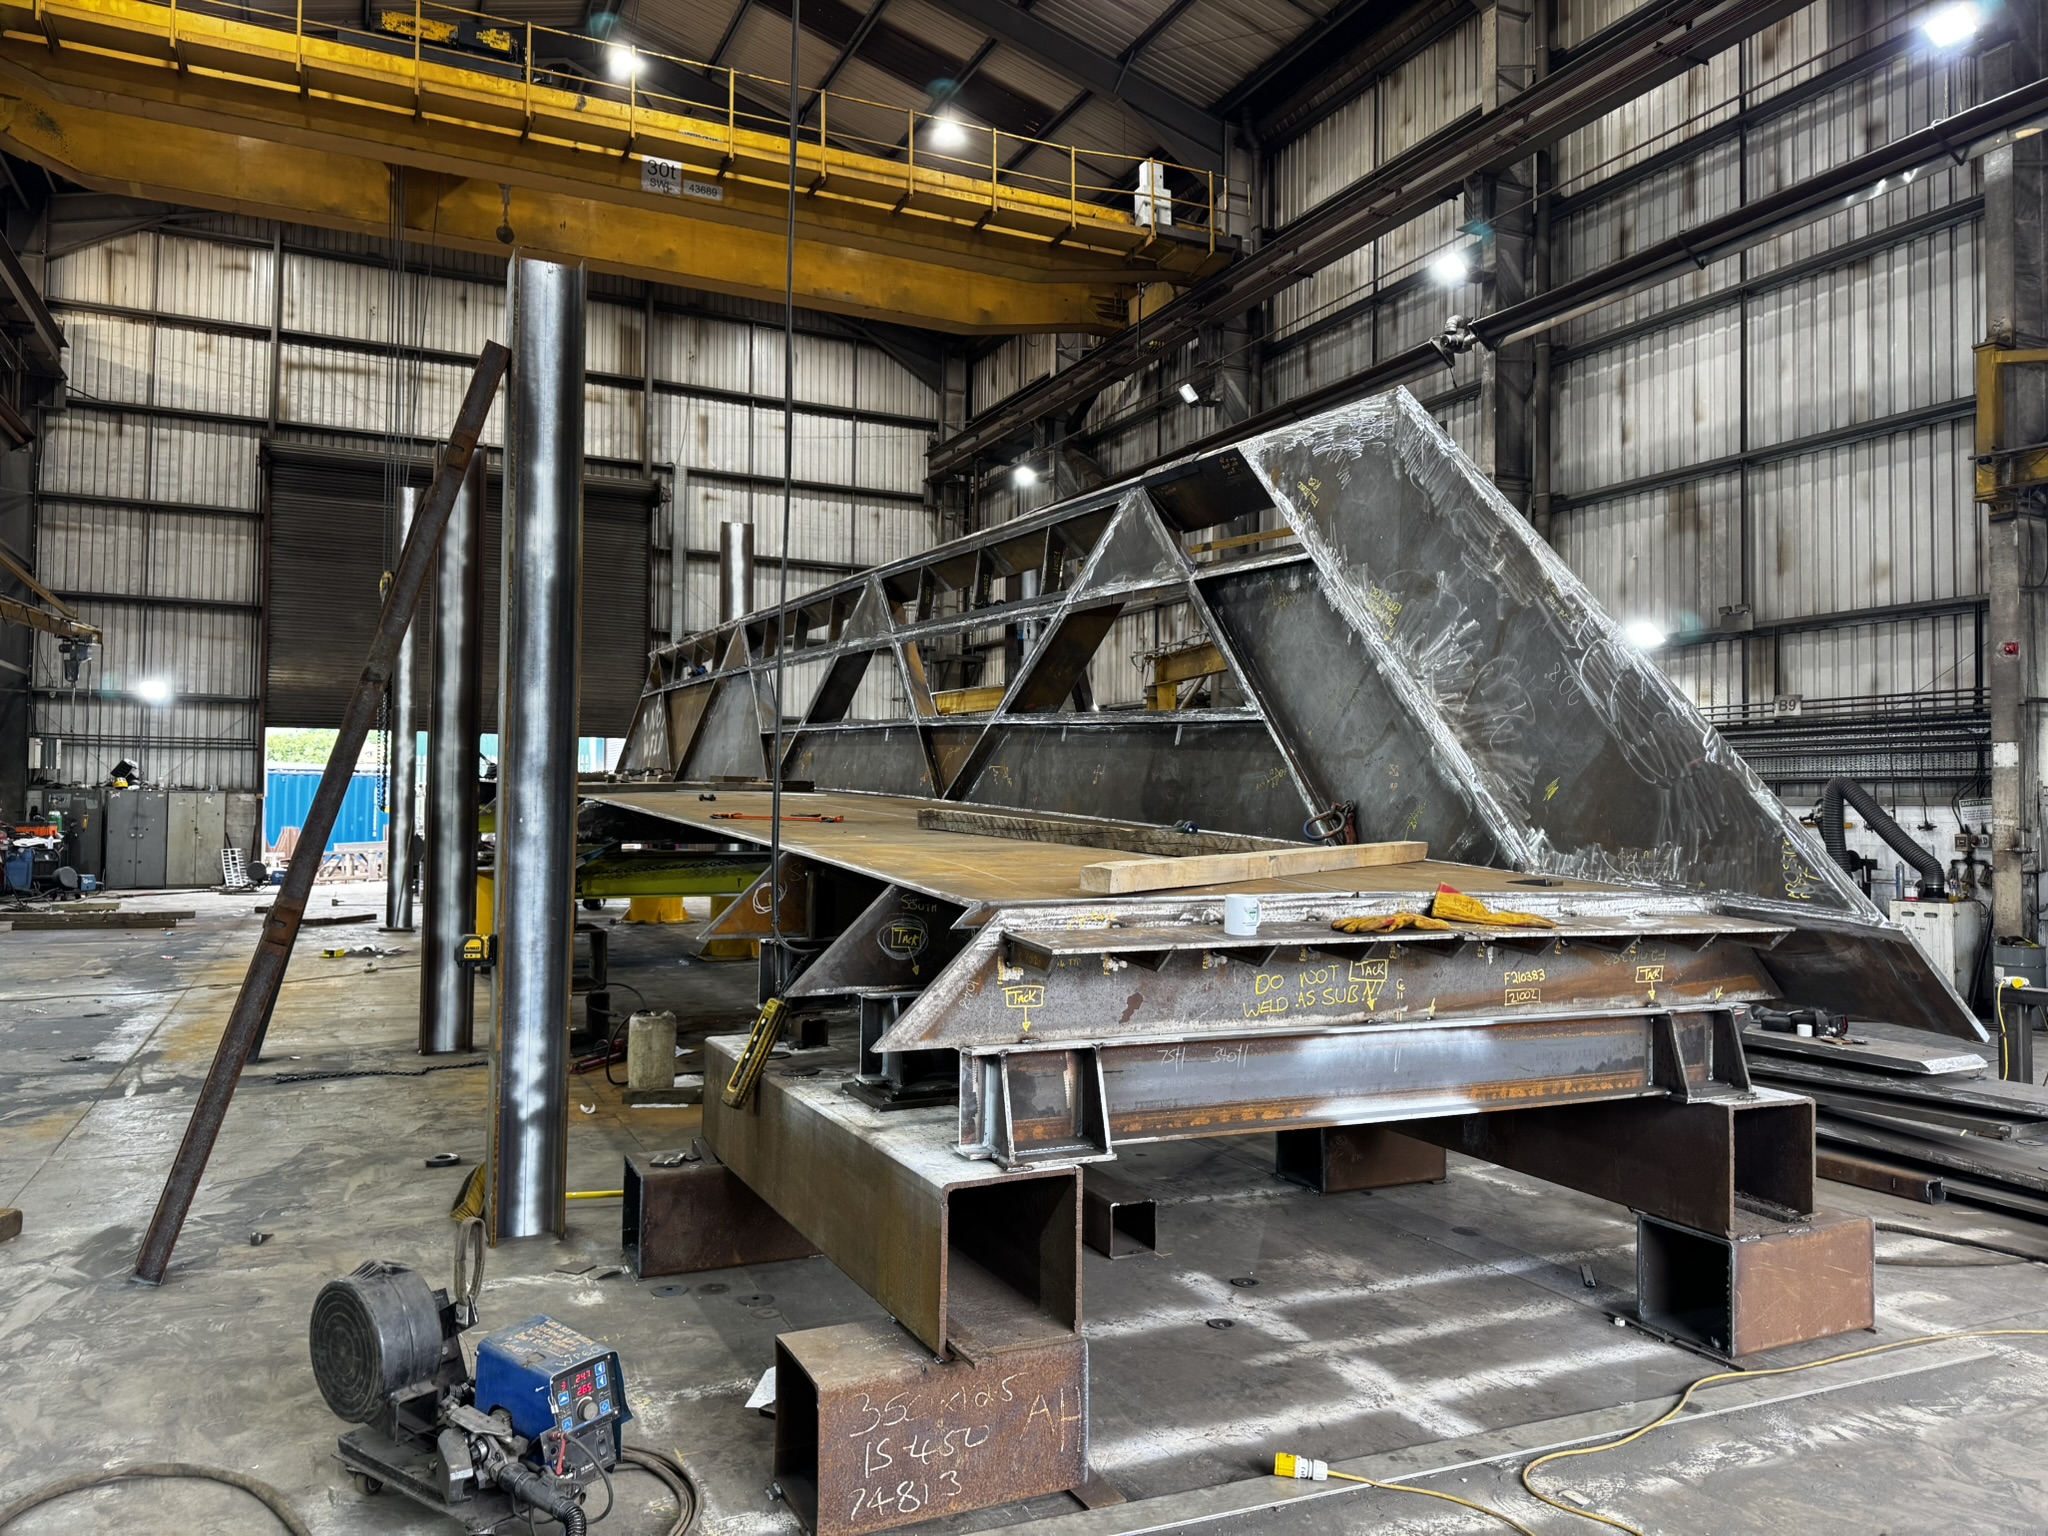
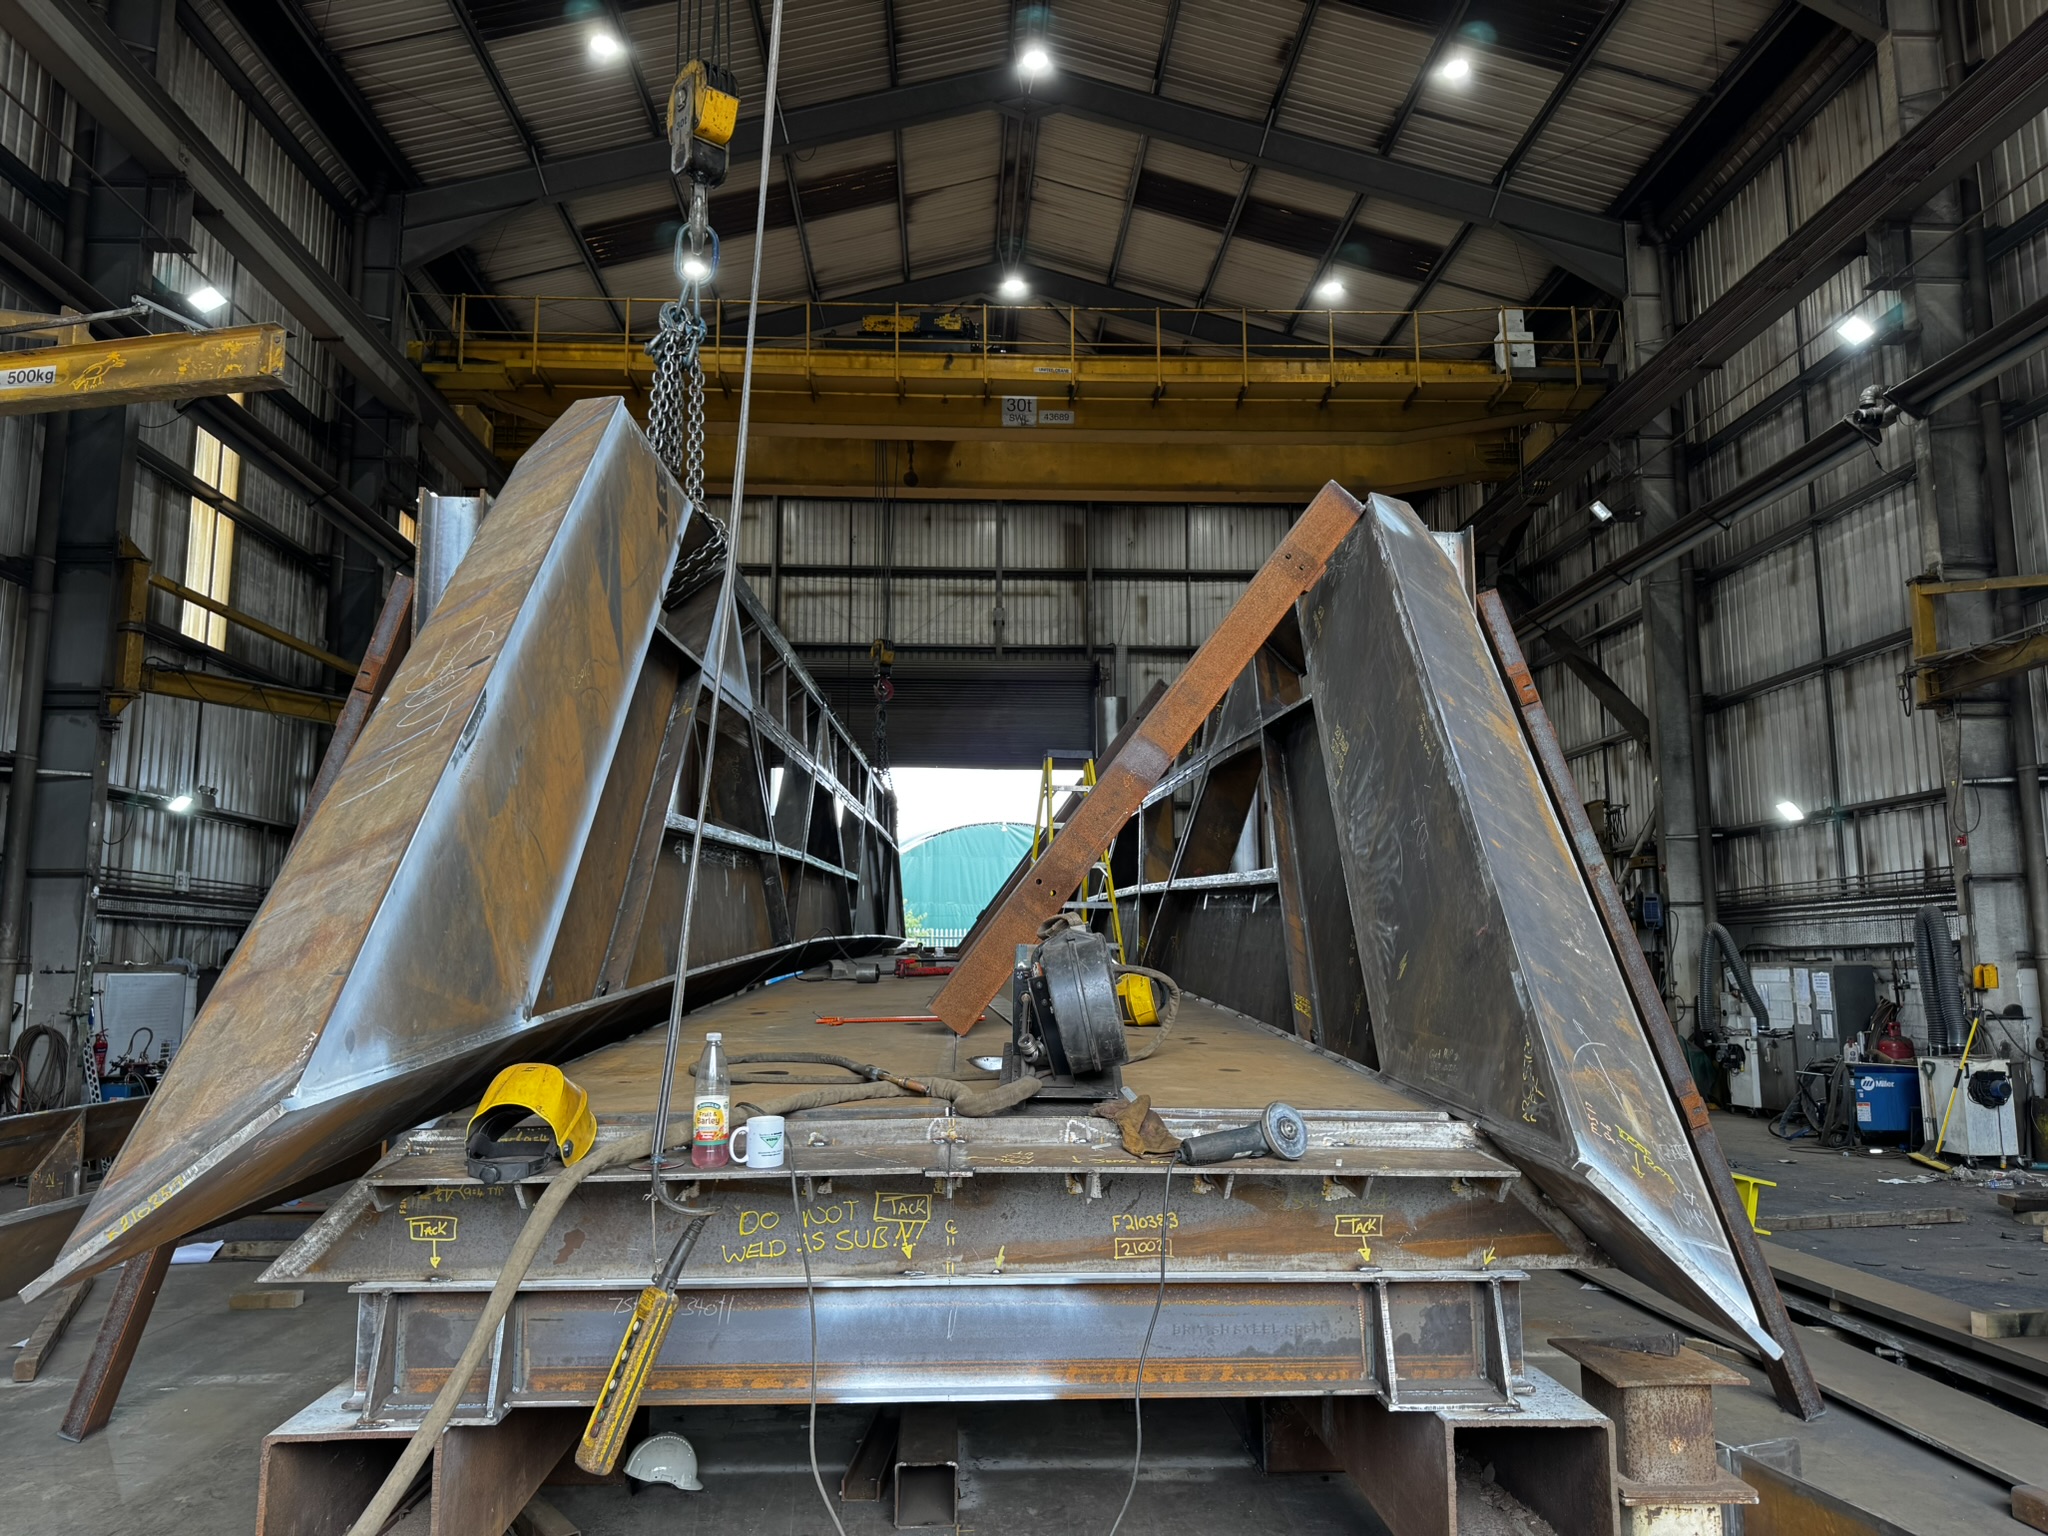
When the deck was complete, we began to fit the bridge sides to it one at a time. Using our layout and the client’s design drawings to reference the key joints and details, the sides were then carefully positioned using our two 30-tonne overhead cranes.
When the sides were in position, a range of equipment, such as rams and pull lifts, were used to secure them in place. Then, the pieces were surveyed to ensure they were in the correct place relevant to the deck.
With both bridge sides in position, they were then tack welded to the deck. Tack welding is a process of making small, temporary bonds onto the structure. This holds components together in place ready for permanent welding.
Day 4: Inspection and bearing pads
Prior to the final welding phase, we checked the key connections of the structure. These inspections ensure that the components are correctly aligned and in accordance with the 3D CAD design provided by the client. Our team also checks that all angles and tolerances are suitable for the structure to guarantee a successful site install.
Completing these checks after the tack welding phase means that any discrepancies or inaccuracies can be easily rectified before the joints are permanently made. If we do find any inconsistencies or errors, we can simply remove the tack weld and reposition the structure as needed. This ensures that no time or money is wasted during welding.
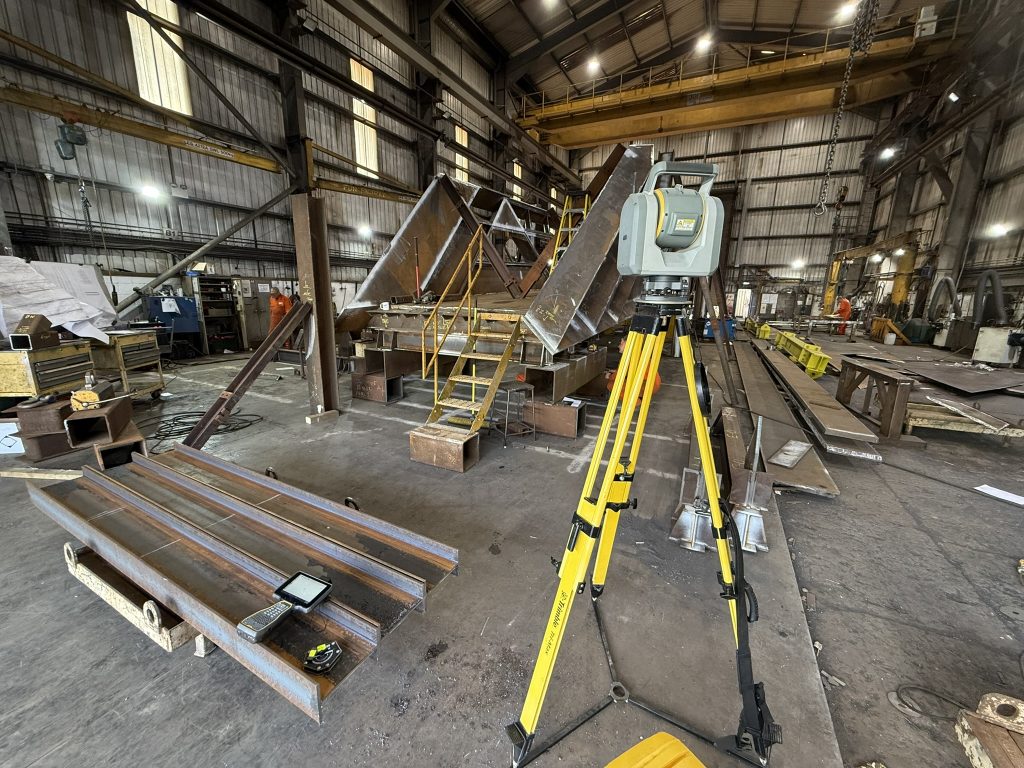
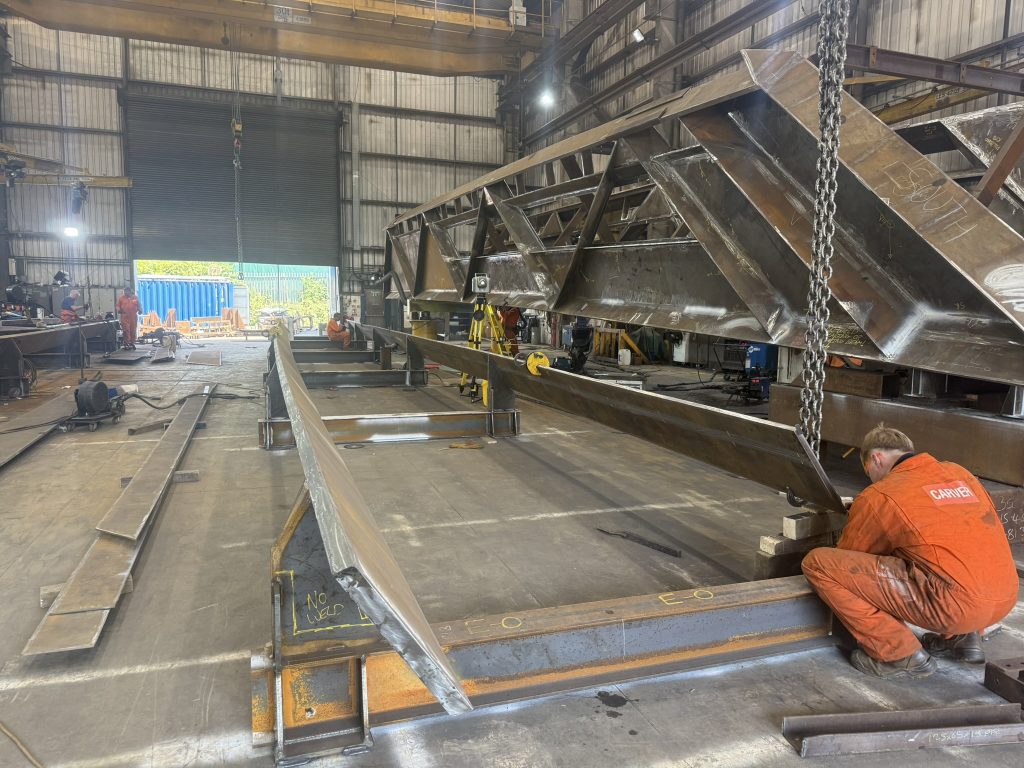
At Carver, we utilise an SX12 Total Station, which is an advanced surveying tool used throughout the fabrication inspection and build of the project. The tool provides live readings during the process, outlining where the structure is in comparison to where it should be according to the design model. This gives us the opportunity to make adjustments where necessary.
The Total Station is a handy piece of equipment that provides additional information and checks without using much manual engineer time. The tool gives our team the ability to easily step back into workshop tasks and check dimensional accuracy quickly and more efficiently.
During this inspection period, a simple check of the four outer corners gave us key information and confirmed that the fabrication was within tolerance – confirming it had been positioned and assembled correctly.
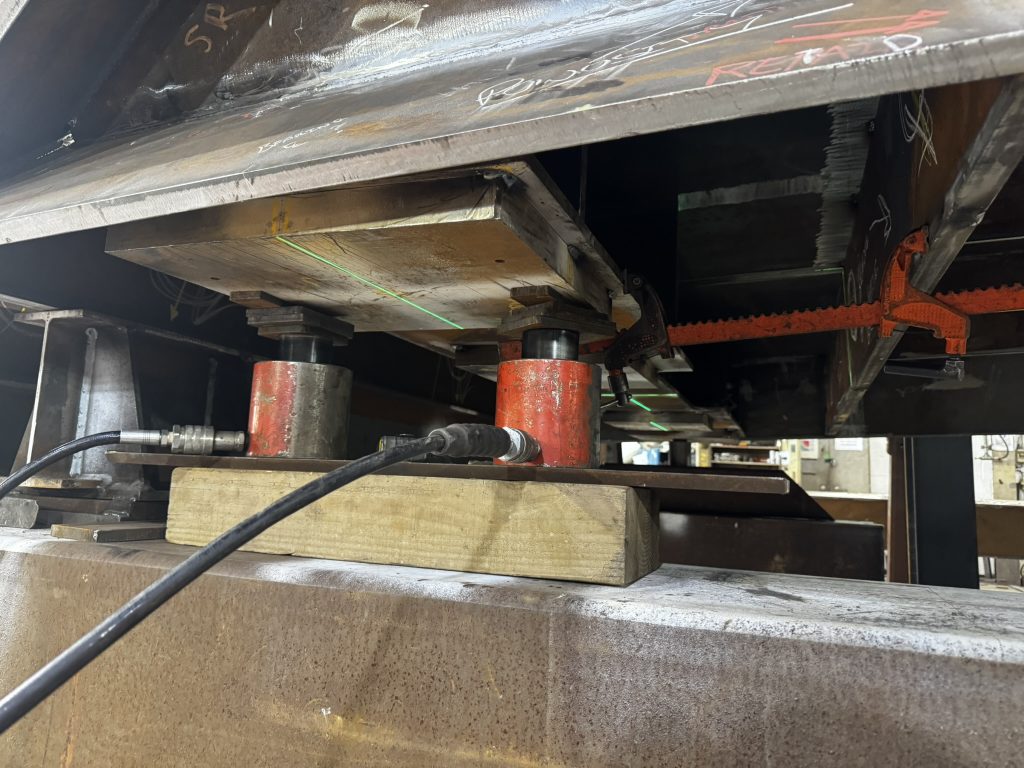
Then, the structure was ready to have bearing pads fitted. These are structural support cushions to aid load distribution throughout the footbridge. The position of these bearing pads is also where the structure will be secured on-site – meaning that absolute accuracy was crucial.
To set these pads, we used a range of rams to lift them into the position defined in the early layout stages of the project. We also used plumb bobs and laser levels to check the pads were being set into their precise position. Finally, the pads were tacked in and ready to be surveyed.
Day 5: Welding and starting the second half
On the final day of the week, with the structure fully approved, it was time to prepare it for the next step – welding. Part of this preparation work included tacking sprags onto the structure.
In welding, intense heat is used to fuse the steel components together and create permanent joints. However, these high temperatures can cause weld distortion, where the material warps from the heat changes and movement of the structure. This is an after effect that leads to complications to the overall structural integrity and longevity of the fabrication.
To prevent this, we used sprags to brace the joints and prevent them from warping. The sprags were tacked in a triangular position to hold the sides in their set position during the welding process.
We then prepare to move the project into the week ahead by getting the sides over to the welder’s bay to be permanently joined to the deck.
With the first half of the bridge well under way, work begins on the second half. With the jig marked out, positioned and checked with the Total Station, it was time to lay in the top and bottom flanges. The jigs set the designed camber to flanges and the overhang positions were marked using information from drawings and model files.
The Total Station was once again utilised to check the overall length and position of the flanges and ensure the rest of the fabrication works started on the right path. After some minor tweaks, the plates were secured in place to allow for the works to continue and the whole process began to repeat itself.
Project next steps
Following the completion of our structural welding process and final inspections using non-destructive testing methods, paperwork will be signed off to mark the footbridge as officially approved and cleared for release. This marks Carver’s input into the HS2 footbridge project as complete!
For this structure, our clients will be arranging its transport from our fabrication facility and over to the site ready to be erected.
Project preparation: Material processing and refining
Prior to this busy week of building the structure and inspecting the joints and form, there were other processes that were carried out that got us to this point.
For this project, our client sent in most of the materials we needed directly to our workshop, including stock length bars and steel plates.
As soon as the materials arrived at our facility, we got straight to work transforming them into the structures that we can work with. The material processing for this footbridge included:
- Sawing to precisely cut the materials into their desired size and length. In our fabrication workshop, we have our own band saws to go through heavy steel sections.
- Shaping some of the smaller items into the desired form to ensure it fits into the structure as required.
- Oxy and plasma cutting to continue those precise, large-scale cuts through the metal sheets. Our workshop’s plasma cutters can cut through steel up to 100mm and ensure they are accurate, smooth, and ready for the next stage.
After the pieces were formed into their correct shapes and sizes, they had to be cleaned and refined. This is a crucial step to ensure that the steel fuses perfectly together to guarantee long-term structural durability and safety of the bridge. For this, we used grinding and fettling techniques to smooth out any sharp edges or rough surfaces, and cleaned the plate of any dirt or contaminants.
Material processing and refinement total time: 5 weeks
Partner with dedicated experts in structural steel fabrication
When our team is working through large-scale projects, especially those with a tight deadline or complex components, the facility is home to many processes, tools, and materials. By the end of the project, we’ve transformed raw materials into a fully inspected and stable steel structure that is ready to be released from our workshop and to the site.
Whether you are delivering a major infrastructure scheme for the railway, highway, energy, mining, or marine sectors, you need a manufacturing partner you can trust. We have the facilities, advanced technologies, and proven track record within our specialist fabrication workshop to execute your vision safely, on time, and within budget.
Contact the expert team at Carver to discover how our workshop capabilities can bring your next steel project to life.